The scene editor is likely the page where largest amount of time is spent. This is where you write the actual content for the visual novel. All previous pages was to prepare the assets and structure to be used in the scene editor.
Data structure: Scene, Sections, and Lines
In RouteVN, a scene follows this structure:
-
Scene -> Sections -> Lines -> Actions
-
A scene has one or many sections.
-
A scene always starts from the first section.
-
After the first section, section order is flexible; it does not need to be strictly linear.
-
A section is made up of sequential lines.
-
Lines are always read sequentially from top to bottom.
-
A line has zero, one or multiple actions, each action does a specific thing
-
To move from one section to another, use an action-based command such as:
ChoicesSection Transition
-
A section without a transition is considered a dead end section and the visual flow will stop there.
-
You can transition to any other section within the same scene or to another scene.
-
When transitioning, the destination section always starts from its first line.
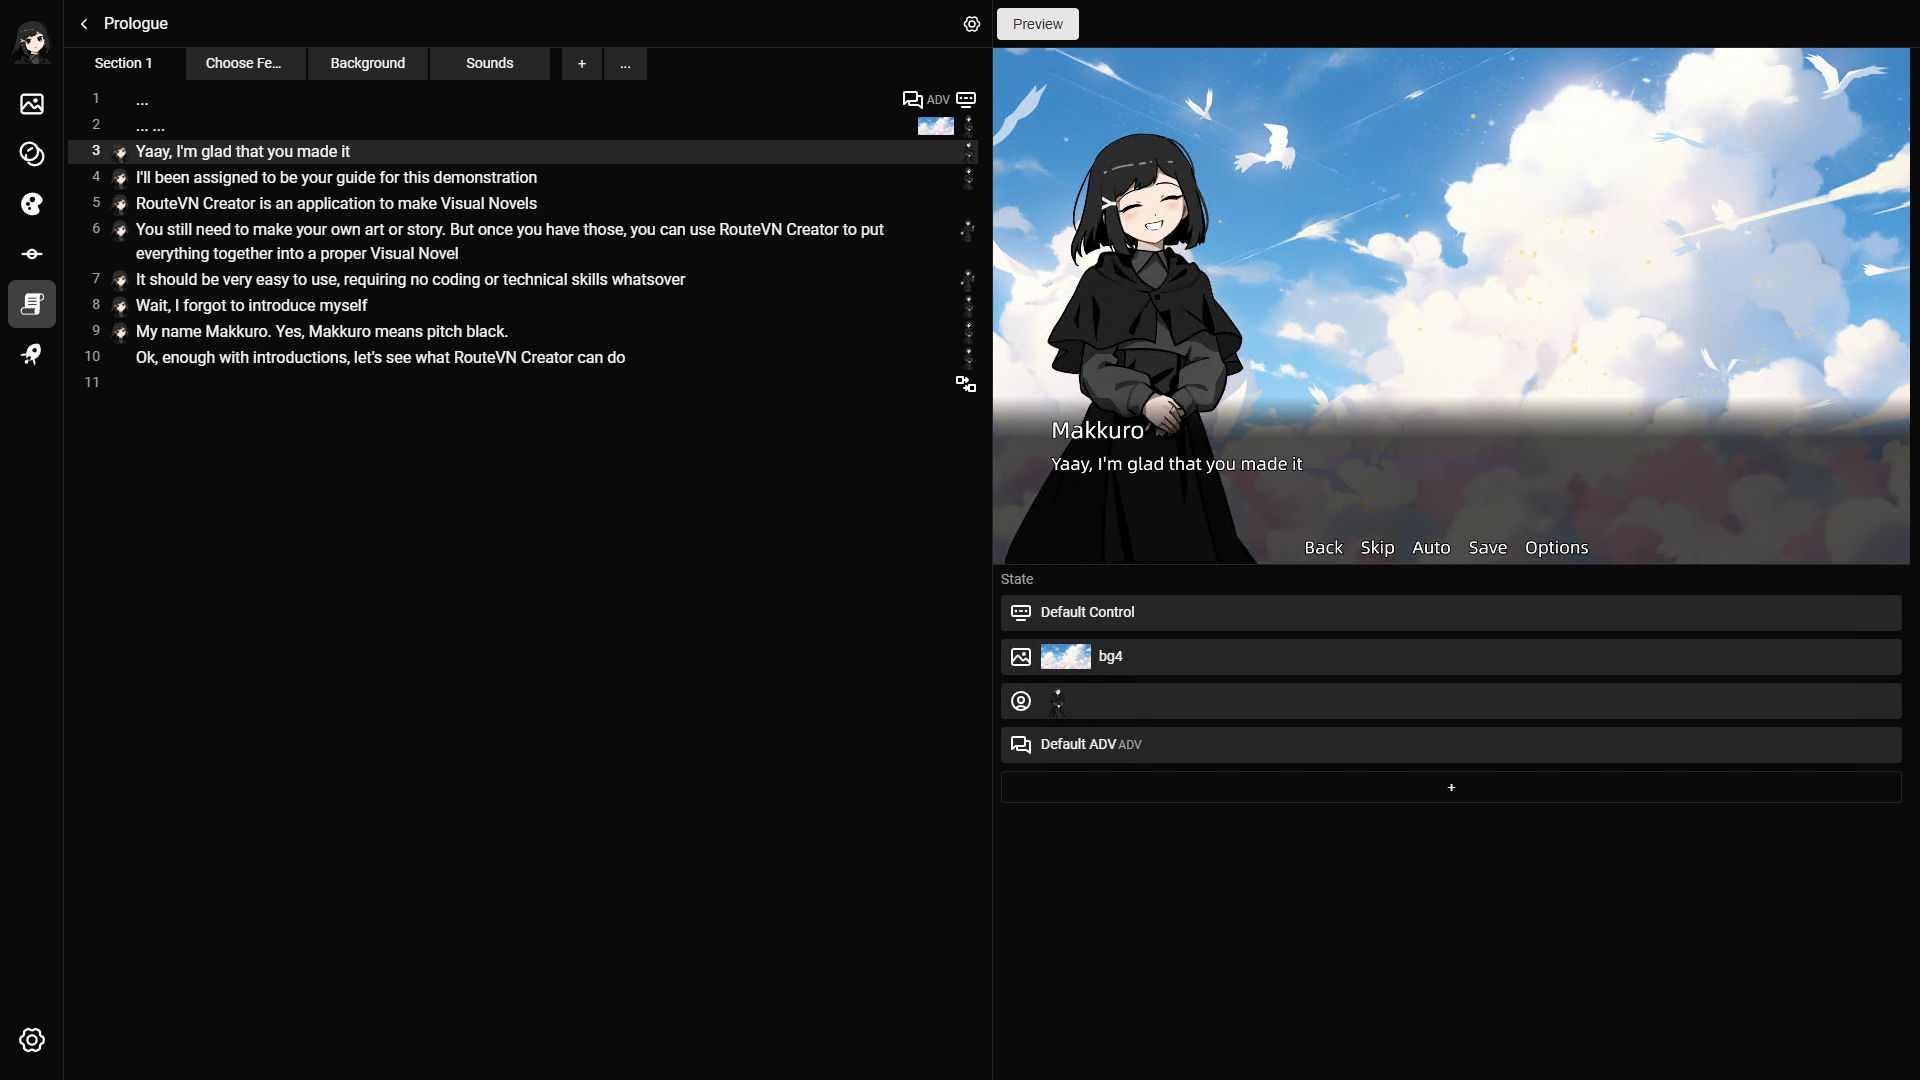
Page Layout
- Left area:
- Top: list of sections.
- Main: text editor, similar to the normal text editor.
- On the right side of the text editor, will show some mini hints to describe the change of each acction
- Main: text editor, similar to the normal text editor.
- Right area:
- Top: live preview.
- Bottom: final presentation state (what will be shown exactly on screen).
- Top: list of sections.
Sections
Sections are shown as tabs Click the plus icon to create a new section Required fields for creating a section:
- Name
- Inherit or not inherit: If this is selected, the new section's line will inherit all the state from current selected line. It is useful so you don't have to add all actions again from scratch
The horiztonal list can only fit a limited number of sections. Once it grows too big, it is recommended you click the 3 dots icon which will display a list of sections.
This list will show a 'warning' icon for the sections that are dead ends which means they do not transition to any other section.
Text Editor
The text editor has 2 modes
- Edit mode: This is the mode in order to type and edit the text content
- Block mode: This is the mode where you want to navigate, and make some changes such as moving the lines or other quick actions
Edit Mode
- Edit mode is just normal text editing
- Pressing enter will create a new line
- Pressing backspace at the beginning of the line, will delete the current line
- Edited content will automatically update in the live preview at the right
- You can move line by line and edit content naturally
- Caveat: due to technical limitations, you cannot select multiple lines at once
The icons on the right side shows the 'changes' in the presenation state, it is useful to get a quick overview of what changes are happening in each line.
Preview
Live preview is automatically updated whenever presentation state changes.
On top there are few actions:
- Preview: Will start a full screen preview
- Mute/Unmute: Will mute or unmute BGM for the preview
Presentation state
This section displays the the full final state of the current line. This is unlike the text editor right side which displays the 'changes' The presentation state is a list of final actions. You can click an action to edit it or plus button to add a new action.
Below is a list of all actions:
- Dialogue — define character lines and text output.
- Choices — show player decision options and branch flow.
- Section Transition — move to another section in the same scene or another scene.
- Background — set or replace the scene background.
- Visual — edit visual object entries in the current line.
- Base Layout — set a base UI/layout template for a line.
- Characters — add, replace, or remove character entries.
- BGM — control background music state.
- Sound Effects — play one-shot or grouped effects.
- Next Line — force direct line progression.
- Set Next Line Config — set default advancement behavior.
- Controls — tune interaction behavior (click, autoplay settings).
- Toggle Auto Mode — enable or disable auto progression.
- Toggle Skip Mode — enable or disable skip behavior.