On this page you can create characters.
Create a character
When creating a character you will fill those fields:
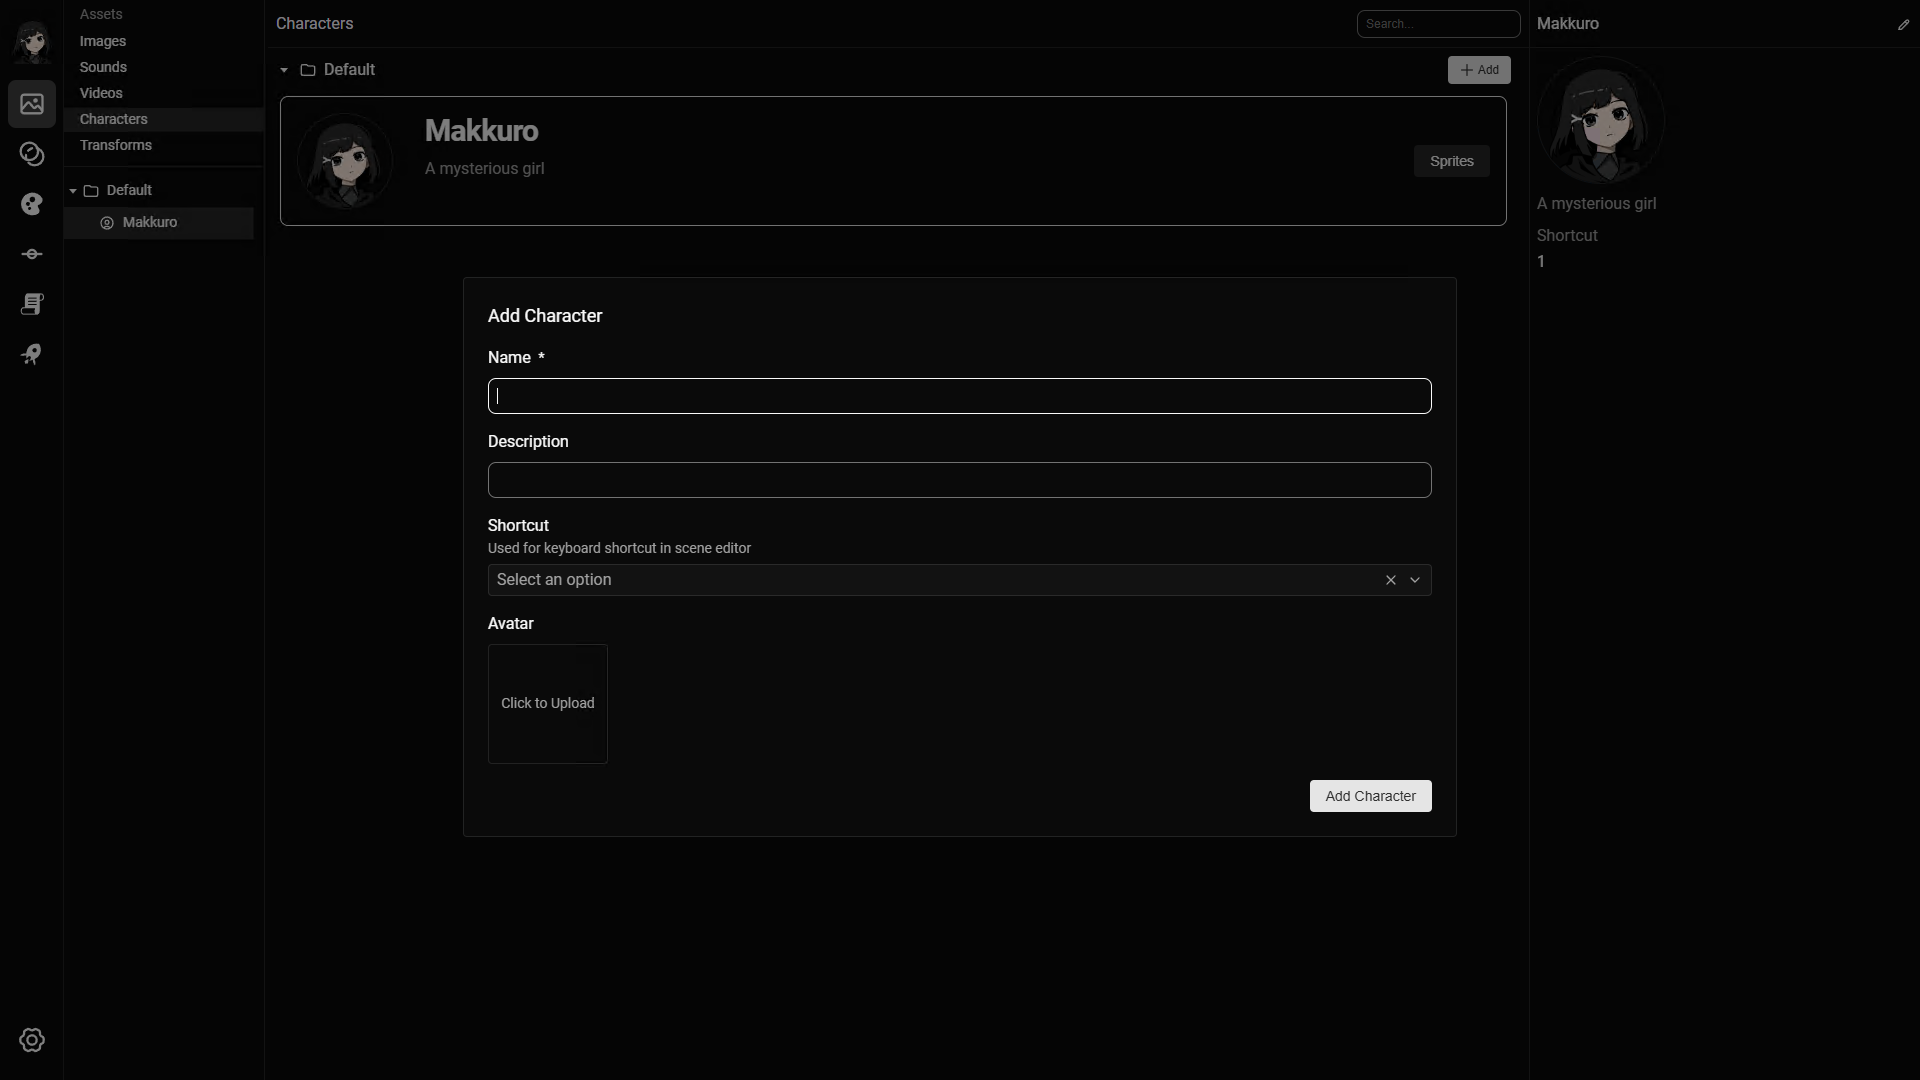
Name
The character name is used in dialogue.
You can override the name in specific dialogue lines, but the character name is the default value.
Avatar
The avatar is used to identify the character inside RouteVN Creator.
The player will not see this avatar. It is only a convenience preview for you.
You can use any image that is not too small. RouteVN Creator will crop it into a square.
Shortcut
The shortcut is a short key that helps you use the character in dialogue commands.
Read more in Add dialogue speaker.
Usages
Characters are used in the following places:
Character sprites
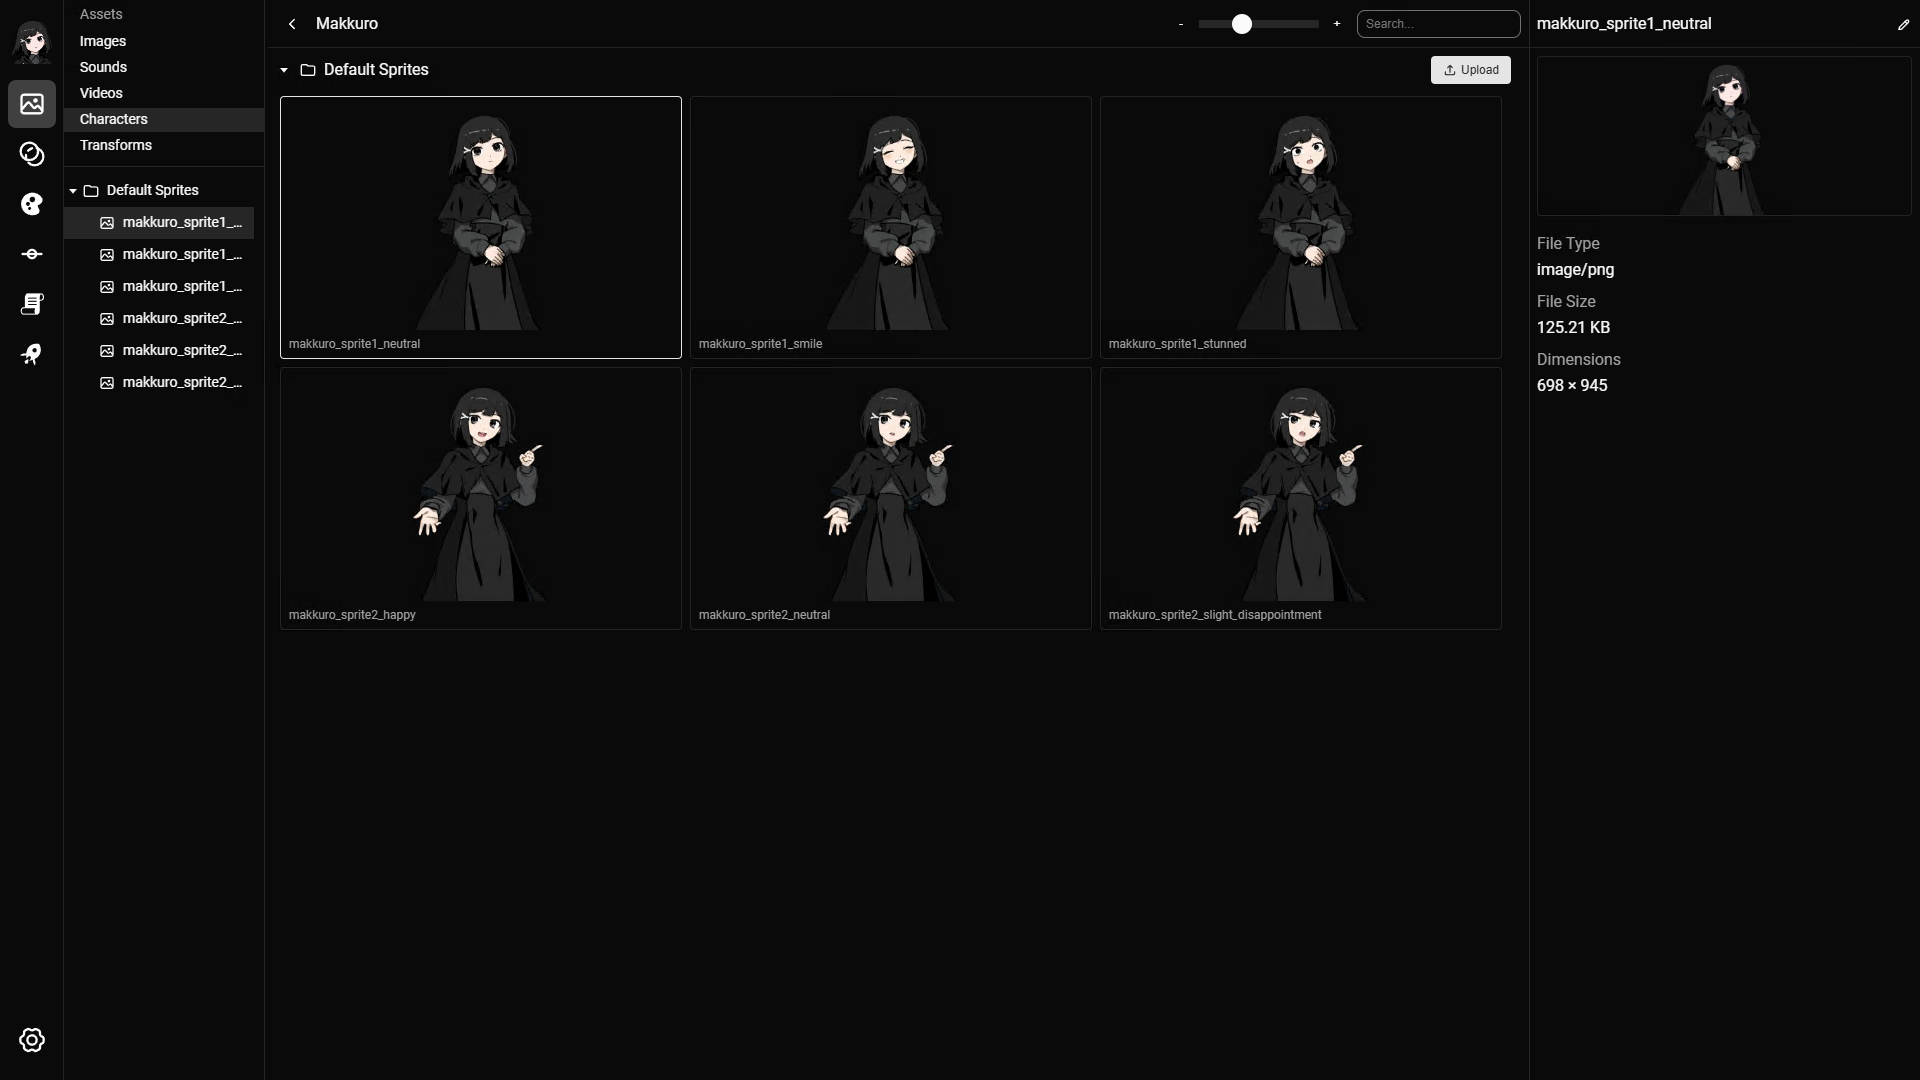
- After creating a character, you can double click or press the
Spritesbutton to manage the sprites. - The sprites page works the same as the Images page, but all image sprites are attached to the character.
- Tags for character sprites are scoped per character.
Notes
There can be different types of character sprites, such as:
- Avatar or face-only sprites, usually used in dialogue.
- Normal sprites, usually used as regular character sprites.
- Close-up sprites.
It is recommended to organize these as separate folders or tags.
Sprite Groups
Sprite groups let you group different image layers so you can reuse parts of a character sprite.
There are 2 common ways to use sprite groups:
- Use one base sprite, then swap expressions, hands, or other parts while keeping the same base.
- Split a sprite into 2, 3, or more sections. Each section can be swapped freely while still connecting cleanly with the other sections.
Sprite groups can be useful when you want to create a large number of character sprite combinations without uploading hundreds of full sprite images.
All images in a sprite group should have the same dimensions. This is necessary to keep the layers consistent when they are combined.
Adding a sprite group
Make sure you have tagged your sprites first.
To add a sprite group:
- Select a character.
- Click edit in the top right.
- Find the
Sprite groupssection and clickAdd. - Insert the group name.
- Select the tags that belong to this group. A sprite group can have multiple tags.
- Repeat this until all your groups have been added.
- Submit the changes.
After this, the sprite groups will be available in the Characters line action.
Usages
Character sprites are used in the following places: